Manga panel layout auto-generation works by reading your labeled scene beats — action, dialogue, impact — and producing a sized multi-panel grid in about 30 seconds. You then drop characters into each panel and type dialogue. There is no manual thumbnailing, no ruler work, no erasing.
In short: Label each scene beat in plain text, paste it into Comistitch Studio, and get a properly sized manga panel grid in 30 seconds. Add characters and dialogue to ship a full 6-panel page in under 20 minutes.
What is manga panel layout auto-generation?
Manga panel layout auto-generation is the process of using an AI system to convert a labeled script into a structured multi-panel grid. Instead of sketching thumbnail layouts by hand, you write a short description for each story beat on the page and tag each with a beat type: action, dialogue, reaction, or impact. The AI reads those tags and outputs a panel grid where every frame is sized to fit the emotional register of its beat.
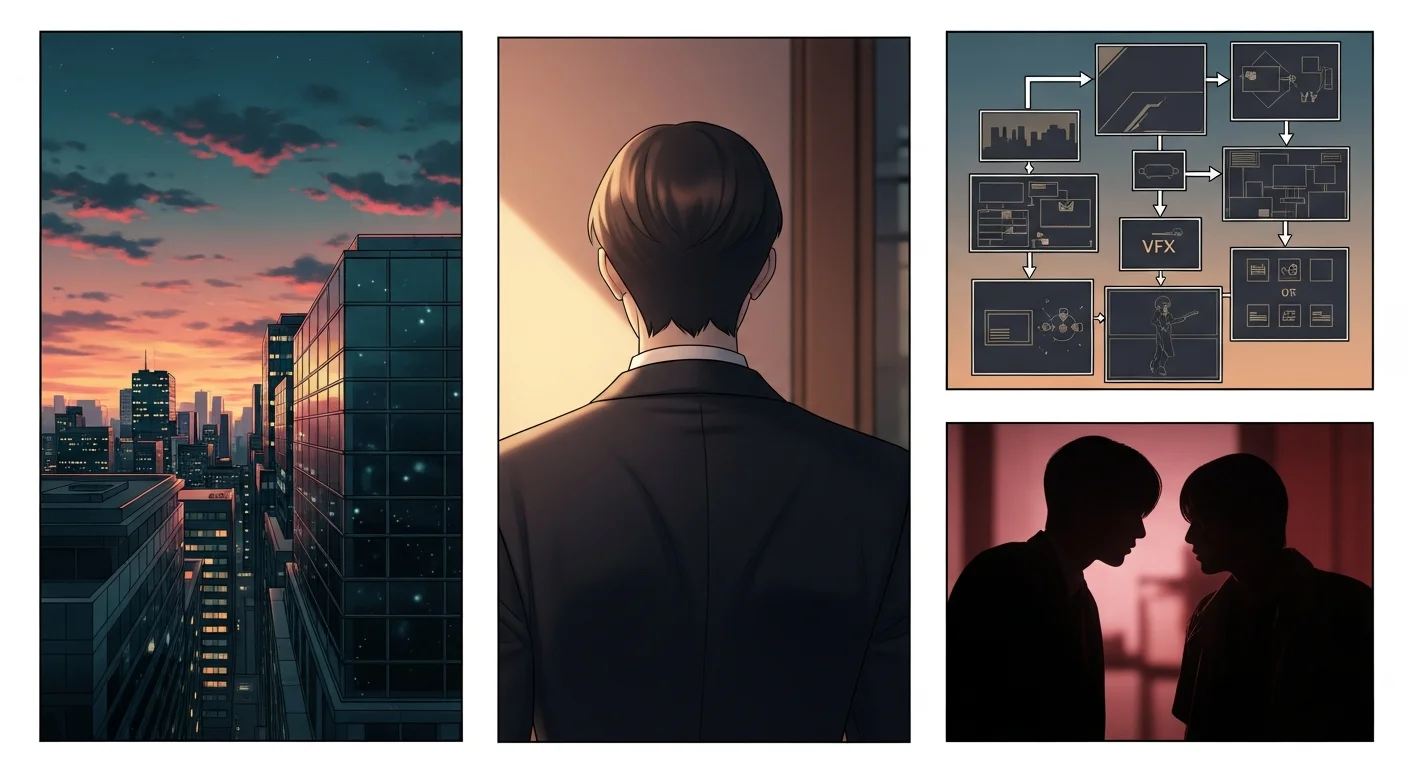
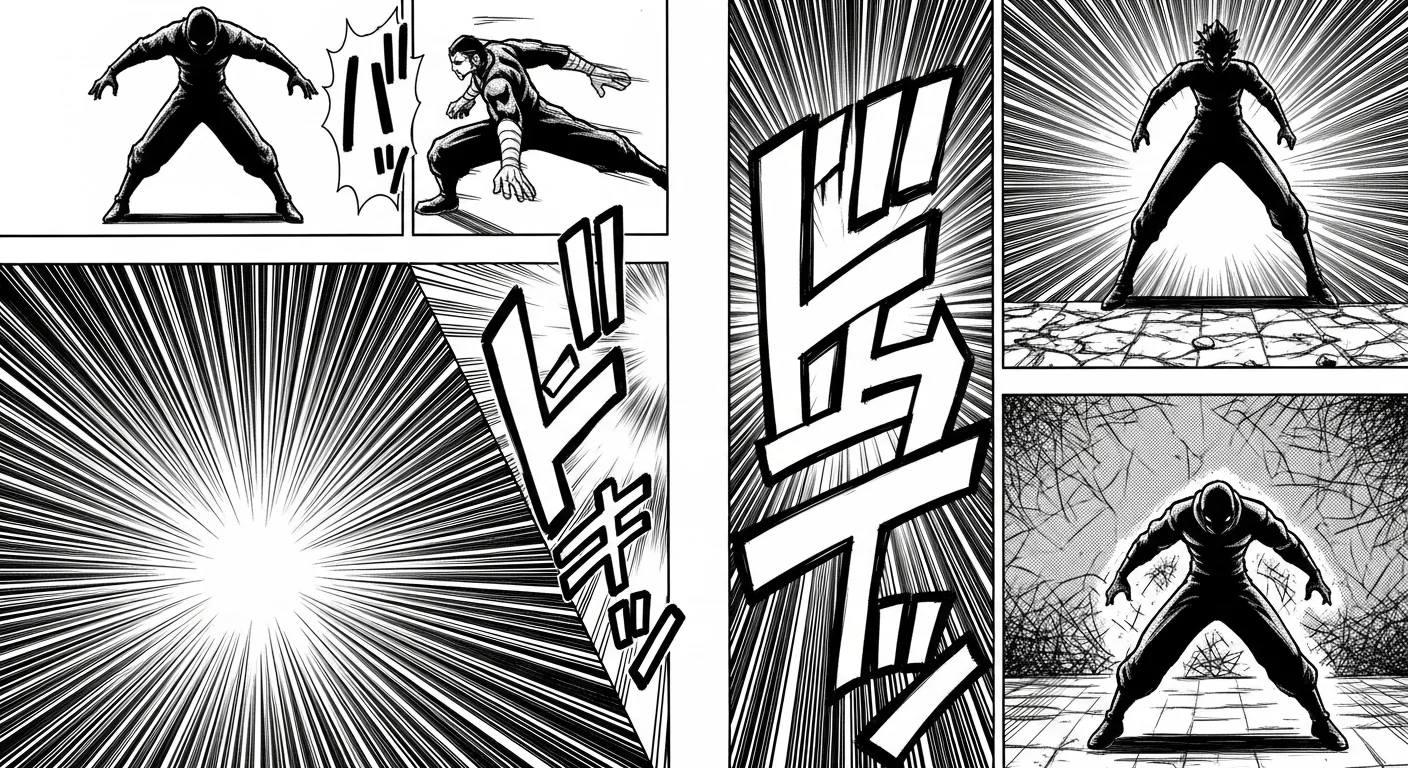
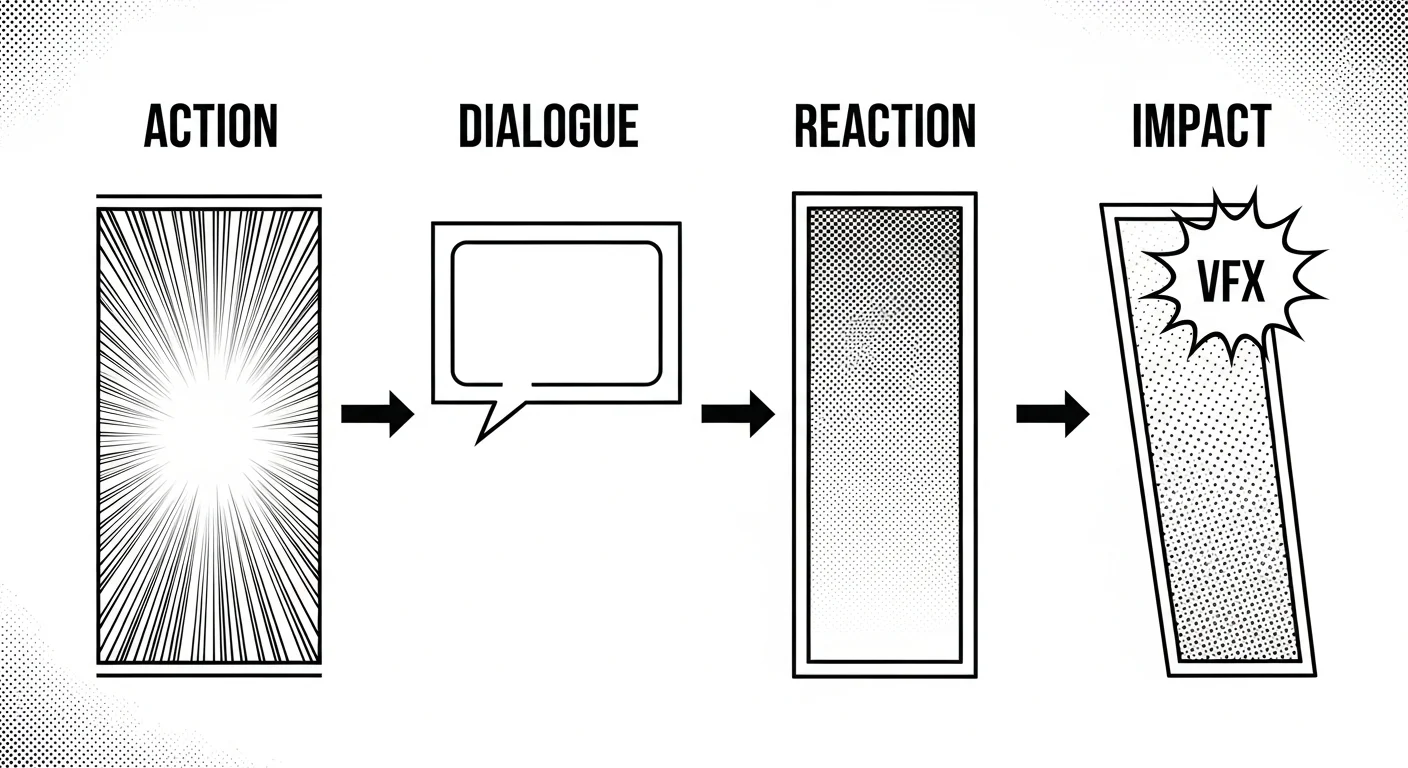
Action beats become narrow stacked panels that compress time and accelerate reading pace. Dialogue beats become medium rectangles with space for speech bubbles and character expression. Impact beats become oversized frames — often with diagonal cuts — that stop the reader’s eye and demand attention. Reaction beats sit as compact squares between larger moments, adding rhythmic pauses to the read.
This matters because paneling is pacing. A script with strong story beats reads flat when every panel is the same rectangle. Auto-generation enforces size variety, diagonal breaks, and correctly sized impact moments automatically. The result is a professionally structured page without requiring years of layout experience or manual redrawing when a pacing decision changes.
What is コマ割り (koma-wari) — the Japanese art of panel division?
コマ割り (koma-wari) is the Japanese term for manga panel division. It translates literally as “frame allocation.” In Japanese comics culture, コマ割り is treated as a primary storytelling craft — comparable in creative importance to character design, dialogue writing, or world-building.
The concept covers three core decisions: how many panels to place on a page, how large each panel should be, and how to arrange panels so the reader’s eye follows the correct right-to-left, top-to-bottom reading path without confusion. Mastering these decisions gives you control over story tempo and emotional rhythm. Misjudge them and even strong artwork feels slow, rushed, or chaotic.
AI コマ割り tools formalize decades of compositional rules into an automated system. You supply beat labels; the system applies the conventions that experienced Japanese manga artists spend years internalizing. Panel sizes follow beat type. Reading order is enforced automatically. Diagonal breaks appear where impact beats land. The output is a structurally sound layout that a seasoned manga editor would recognize as correct — built in 30 seconds from a text prompt.
For a full overview of the visual vocabulary that コマ割り layouts support, visit the AI manga generator style guide.
How does the AI read my script and build a panel grid?
The AI panel layout system works in three steps.
First, you write a brief script — four to six sentences per page, one sentence per beat. You label each beat explicitly: (action), (dialogue), (reaction), (impact). These labels are the primary input the AI needs to size and position panels correctly. Sentence length matters less than the label.
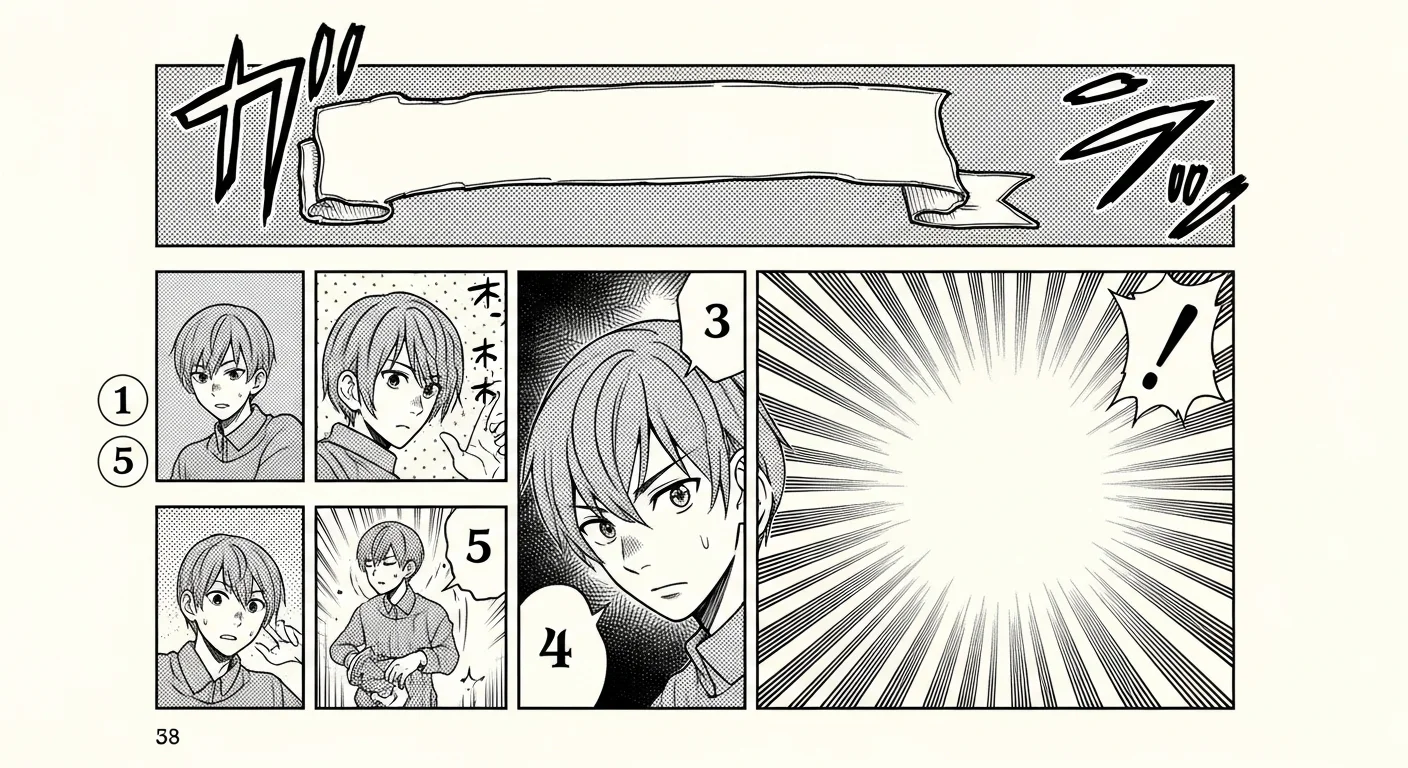
Second, you paste the labeled script into Comistitch Studio. The builder parses the labels, counts the beats, and generates a panel grid. Action beats get narrow rectangles stacked two or three per row. Impact beats get large panels with diagonal cuts. Dialogue beats get medium frames with clear speech-bubble clearance. The grid is built in right-to-left manga reading order automatically.
Third, the builder renders a live preview of the full page at editing resolution. From inside the builder, you drag your character from the library onto each panel, type dialogue into speech bubbles, and apply screentones or speed lines from the vfx toolbar. The builder handles gutter widths, panel border weights, and bubble placement so the page reads cleanly — no manual cleanup needed after generation.
What panel sizes should I use for each beat type?
Four panel size categories cover every storytelling need in manga. Understanding them helps you write more effective beat labels.
| Beat type | Panel size | Primary purpose |
|---|---|---|
| Action | Narrow, stacked 2–3 per row | Compress time, accelerate reading pace |
| Dialogue | Medium rectangle (~⅔ page width) | Room for speech bubbles, paced exchange |
| Reaction | Small square or compact frame | Emotional pause, reader empathy moment |
| Impact | Half page or larger, often diagonal | Stopping moment — reveal, hit, or climax |
The AI assigns sizes automatically from your beat labels. After generation you can override any panel: drag a border to resize, or use the swap tool to cycle through preset sizes. All overrides are non-destructive. Changing a beat label and regenerating only resets the affected panel — the rest of the page stays intact.
Use no more than one impact panel per page. More than one dilutes their stopping power. Reserve impact panels for the single most important moment on each page.
How do I auto-generate my first manga page layout — step by step?
Follow this workflow to produce a complete AI panel layout from a blank document in about 20 minutes.
Step 1 — Write a labeled script. Draft four to six sentences, one per beat. Mark each with (action), (dialogue), (reaction), or (impact). Keep sentences to 15 words or fewer. Short, labeled sentences give the layout engine the clearest signal.
Step 2 — Open Comistitch Studio. Go to Comistitch Studio and click “New Manga Page.” Paste your script into the script input box. Set target panel count to four, six, or eight depending on your story density.
Step 3 — Generate the grid. Click Generate. The builder produces your panel grid in about 30 seconds. Review the preview: action panels should be narrow, impact panels oversized and diagonal. If the proportions feel wrong, change a beat label and click Generate again.
Step 4 — Place characters and dialogue. Drag your character from the library onto each panel. Type speech bubble text in the dialogue editor. Add screentones, speed lines, and sound-effect lettering from the vfx toolbar. The builder positions bubbles and vfx automatically.
Step 5 — Export. Click Export. Free tier delivers 1080w PNG. Pro adds 1600w PNG, PDF for print, and CBZ for digital readers. From inside the builder you can also publish directly to your creator profile, which generates a webtoon-compatible vertical version at the same time.
How does AI panel layout compare to manual thumbnail sketching?
| Aspect | Manual thumbnails | AI panel layout | Comistitch advantage |
|---|---|---|---|
| Time per page | 2–4 hours | 15–30 minutes | 30-second grid generation |
| Skill required | Layout experience essential | None — labels drive the grid | Beginner-ready |
| Cost of revision | Erase and redraw | One-click regeneration | Script is the source of truth |
| Character consistency | Manual reference sheets | Per-panel prompting | Locked via consistency engine |
| Financial cost | Materials and time | Free tier available | 3 pages/week at no cost |
The biggest unlock is iteration speed. Manual thumbnailing penalizes experimentation — decide a page needs one more action panel and you redraw the whole layout. AI panel layout makes the labeled script the source of truth: change a beat label and the panel grid updates in 30 seconds. Creative energy goes into storytelling decisions rather than execution overhead.
For the complete free manga creation workflow, see how to make manga free with AI in 2026.
What mistakes should I avoid with AI manga panel layout tools?
Three mistakes trap most first-time users.
Missing beat labels. Pasting raw prose without labels gives the AI no signal for panel sizing. The output is a row of identical rectangles — correct in count but flat in pacing. Fix: add explicit beat labels before every sentence in your script. If a beat is hard to label, ask yourself: is this moment fast or slow? Fast → action. Slow → dialogue. Big → impact.
Too many beats per page. Six panels is comfortable for most manga pages. Eight is the practical maximum for action-heavy sequences. Beyond eight, panels shrink to thumbnail size, become difficult to illustrate, and are hard for readers to parse at normal reading speed. Fix: split overflow beats across two pages and let the story breathe.
Skipping the reading order check. Diagonal panels can break right-to-left flow if positioned incorrectly. The reader hits dialogue out of sequence and the scene collapses. Fix: use Studio’s reading order preview before exporting. The builder highlights the eye path with numbered arrows so you can confirm every panel reads in the correct sequence.
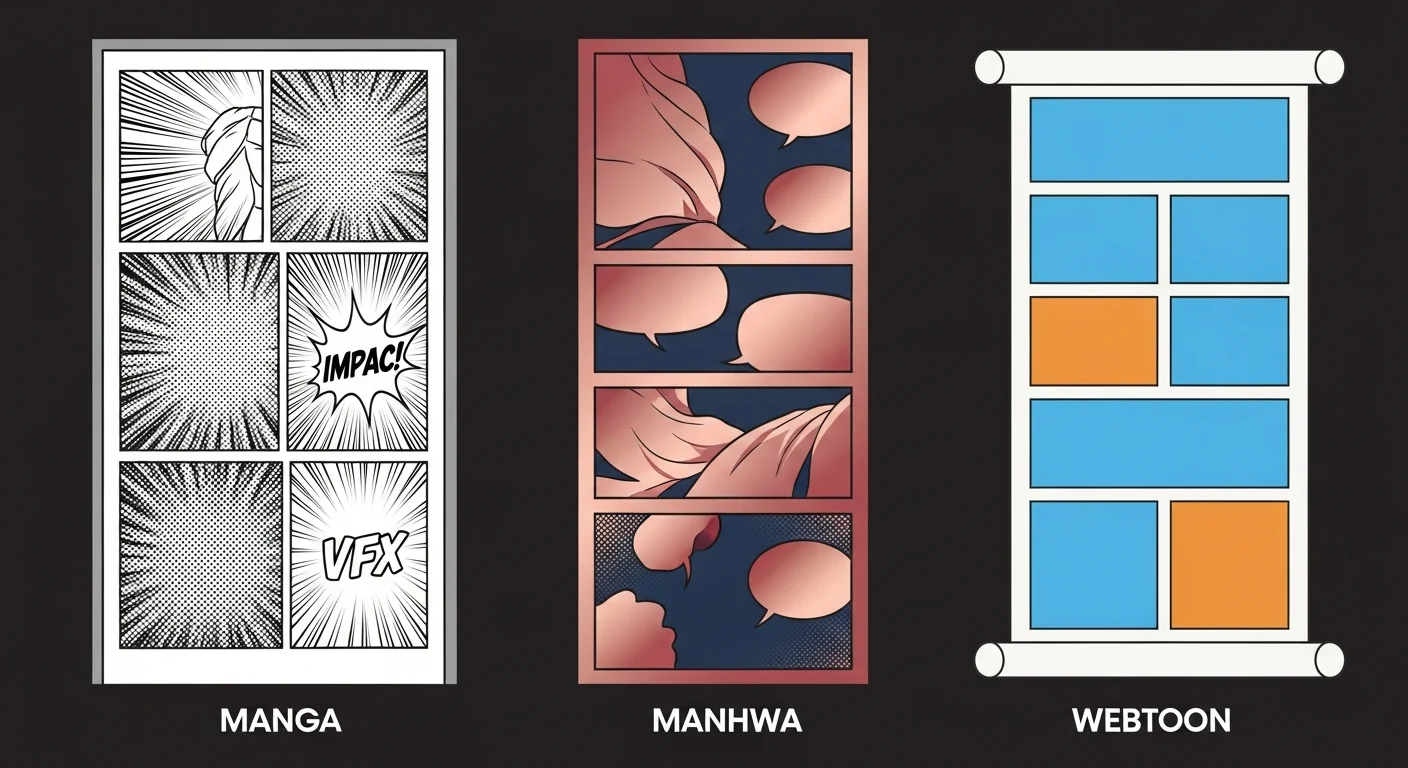
Understanding the differences between manga page formats and webtoon vertical formats also matters before you commit to a layout style. The manhwa vs manga vs webtoon guide explains the structural differences that affect panel layout decisions and reading order.
Where do I go next after generating my panel layout?
Panel layout is the structural skeleton. Three more layers turn raw panel grids into finished, publishable manga pages.
Character placement and consistency. Set up your character in the Comistitch character creator before generating pages. Lock face, hair, and outfit as a reference. Drag that character onto each panel and the consistency engine carries the design across every frame automatically — no re-prompting needed panel by panel.
Screentones and visual effects. Manga’s distinct textured look comes from dot-pattern screentones and ink shading. The Studio screentone library adds this texture in one click per panel. Speed lines, focus lines, and impact stars apply from the vfx toolbar in seconds.
Publishing pipeline. When pages are complete, export and upload to platforms like Webtoons or Tapas. The best platforms to publish AI webcomics guide covers upload specifications and audience expectations for each major platform so you choose the right home for your work.
Start with one page now — paste this prompt into Comistitch Studio:
Page 1 — Cliffside duel at dusk

Beat 1 (action): Two rivals stand at opposite ends of a rocky cliff, cloaks snapping in the wind.
Beat 2 (dialogue): "This ends now. You already know that."
Beat 3 (reaction): The challenger's hands curl into fists. Slow breath. Eyes level.
Beat 4 (impact): A sudden diagonal charge — dust exploding from the stone beneath their feet.
Beat 5 (action): The defender pivots hard and blocks with a forearm; both skid toward the edge.
Beat 6 (impact): They stop inches from the drop, breathing hard, city lights glowing far below.
Start free at Comistitch Studio — no credit card required.