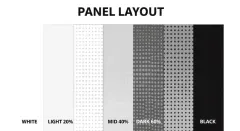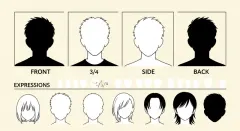
Manga paneling with AI starts with a script breakdown into 4–6 panels per page, then assigning panel size by emotional weight: narrow stacked panels for action, medium rectangles for dialogue, oversized diagonals for impact, and full-page splashes for turning points. Modern AI tools generate the grid from your script in about 30 seconds, leaving you to focus on dialogue, pacing, and character placement instead of measuring panel margins by hand.
In short: Use Comistitch Studio’s auto-paneling engine to generate a 6-panel grid from your script in 30 seconds, then drop in characters and dialogue. Ship a complete page in 20 minutes.
What is manga paneling and why does it matter?
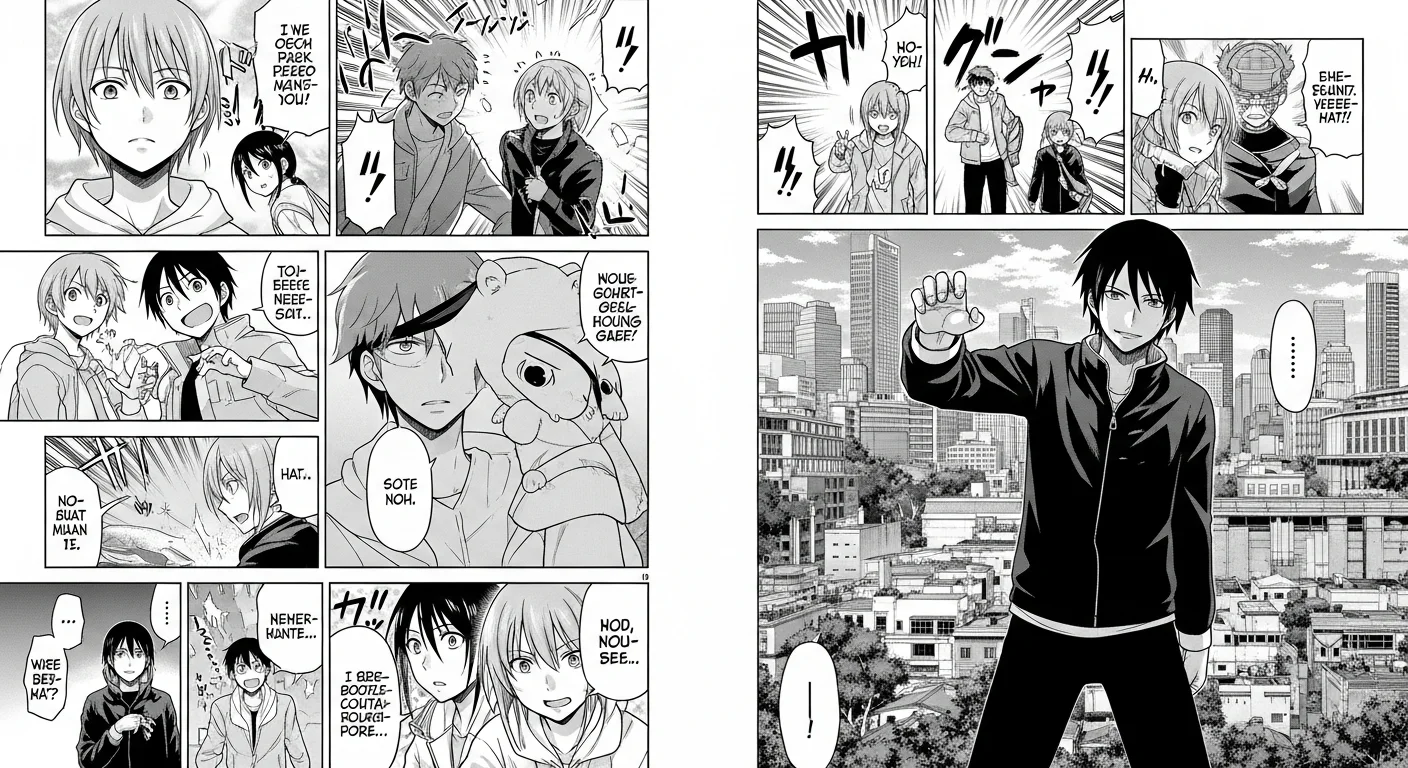
Manga paneling is the craft of dividing a page into framed moments that walk a reader through your story. Unlike Western comics, which often default to uniform grids, manga uses panel size, shape, and angle as a core storytelling instrument. A small square panel speeds up action and makes a reader breathe faster. A wide horizontal panel slows everything down. A diagonal break introduces surprise or a tonal shift. A full-page splash arrests the reader and says: this moment matters.
Paneling is pacing. A great script reads flat if every panel is the same rectangle. A mediocre script lands hard if the paneling earns the impact moments. This is why most beginners get stuck — they pour effort into character art and miss that layout does half the storytelling work.
The good news: paneling rules are learnable, and AI tools now codify them. The AI manga generator overview covers the full visual language, and how to make manga free with AI walks through the no-cost workflow.
How do I make manga panels with AI in 2026?
The 2026 workflow has three moving parts: script, auto-paneling, and panel canvas. You write a brief script — three to five sentences per page — marking each beat as action, dialogue, reaction, or impact. The auto-paneling engine reads those beats and generates a panel grid where each panel’s size matches its emotional weight. You then reference your characters by name in the beats, type dialogue into speech bubbles, and export.
This replaces what used to be hours of manual layout work. Old workflows required sketching thumbnails, measuring gutters, redrawing panels when pacing felt off, then relettering everything when dialogue changed length. AI-assisted paneling collapses all of that into a single iteration loop: change a beat label, regenerate, keep editing.
The current best-in-class implementation is Comistitch Studio. The auto-paneling engine reads emotional weight tags and produces a grid that respects manga conventions — right-to-left flow, diagonal action breaks, splash panels for impact moments. The panel canvas is where you do the rest of the work: reference characters by name, type dialogue, and describe screentones and sound effects directly in the beat text. The builder handles gutter spacing, panel border weight, and dialogue placement so the page reads cleanly without manual cleanup.
You do not need to be a Photoshop expert. You do not need a tablet. A laptop and a script are enough.
What panel sizes should I use?
Manga uses four main panel sizes, each tuned to a different emotional register. Get these four in your bones and you can panel any scene.
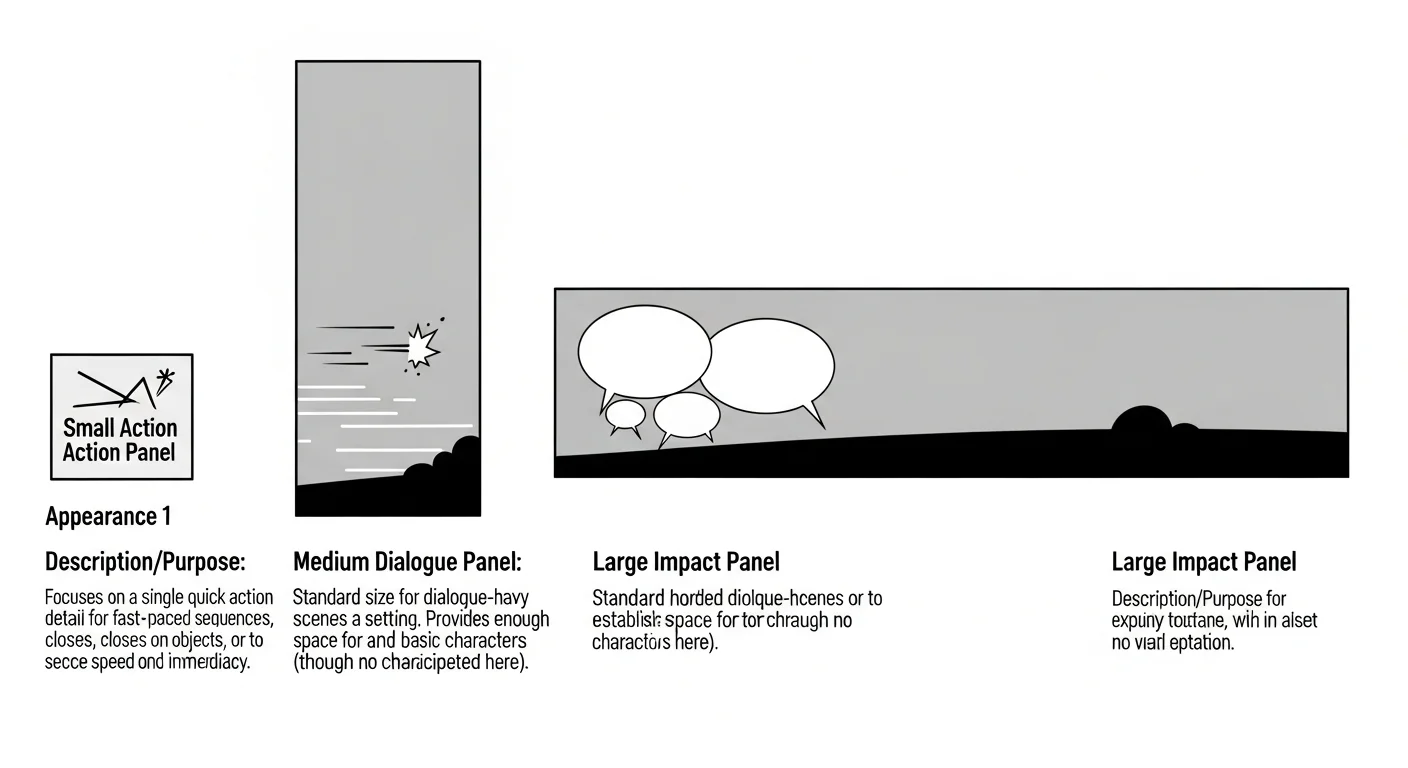
Action panels are narrow and tall, or short and wide, often stacked in groups of three or four. They compress time and accelerate pacing. A chase, a fight exchange, or a quick reaction belongs here. Keep dialogue minimal — a single sound effect or short shout.
Dialogue panels are medium rectangles, roughly two-thirds page width and a third tall. They give characters room to talk without rushing — your default for conversation, exposition, and emotional beats.
Impact panels are oversized — half a page or more, often with a diagonal cut. Use these for the single most important moment on the page: a reveal, a hit landing, a resolve crystallizing. One impact panel per page maximum.
Splash panels take the entire page. Reserve them for chapter openers, climaxes, or major reveals — they cost you a full page of pacing, so use them sparingly.
How does manga reading order work?
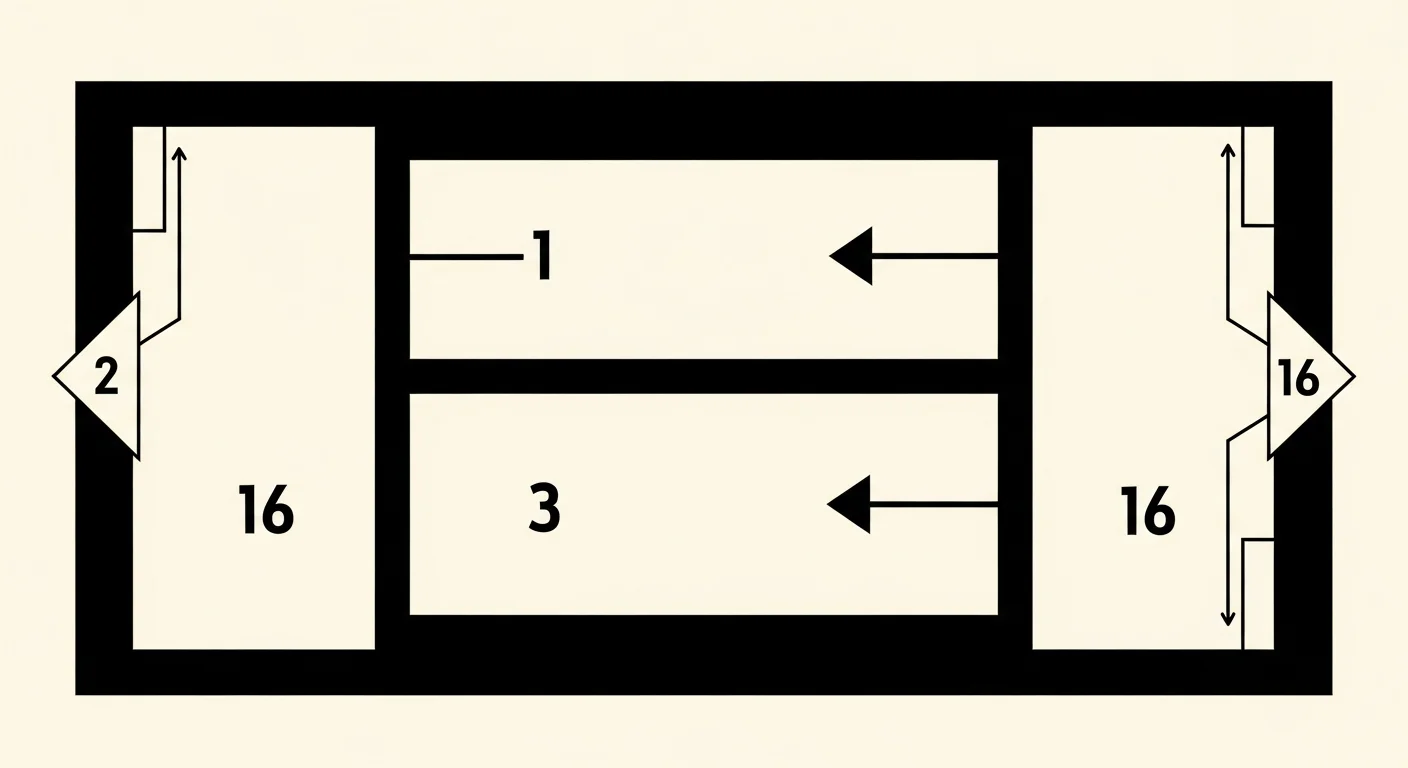
Manga reads right-to-left, top-to-bottom, in a Z-pattern. The reader’s eye starts at the top-right corner of the page, moves left across the first row, drops down to the second row’s right edge, then sweeps left again. This is the inverse of Western reading order and one of the first things to internalize when you switch from Western comics to manga.
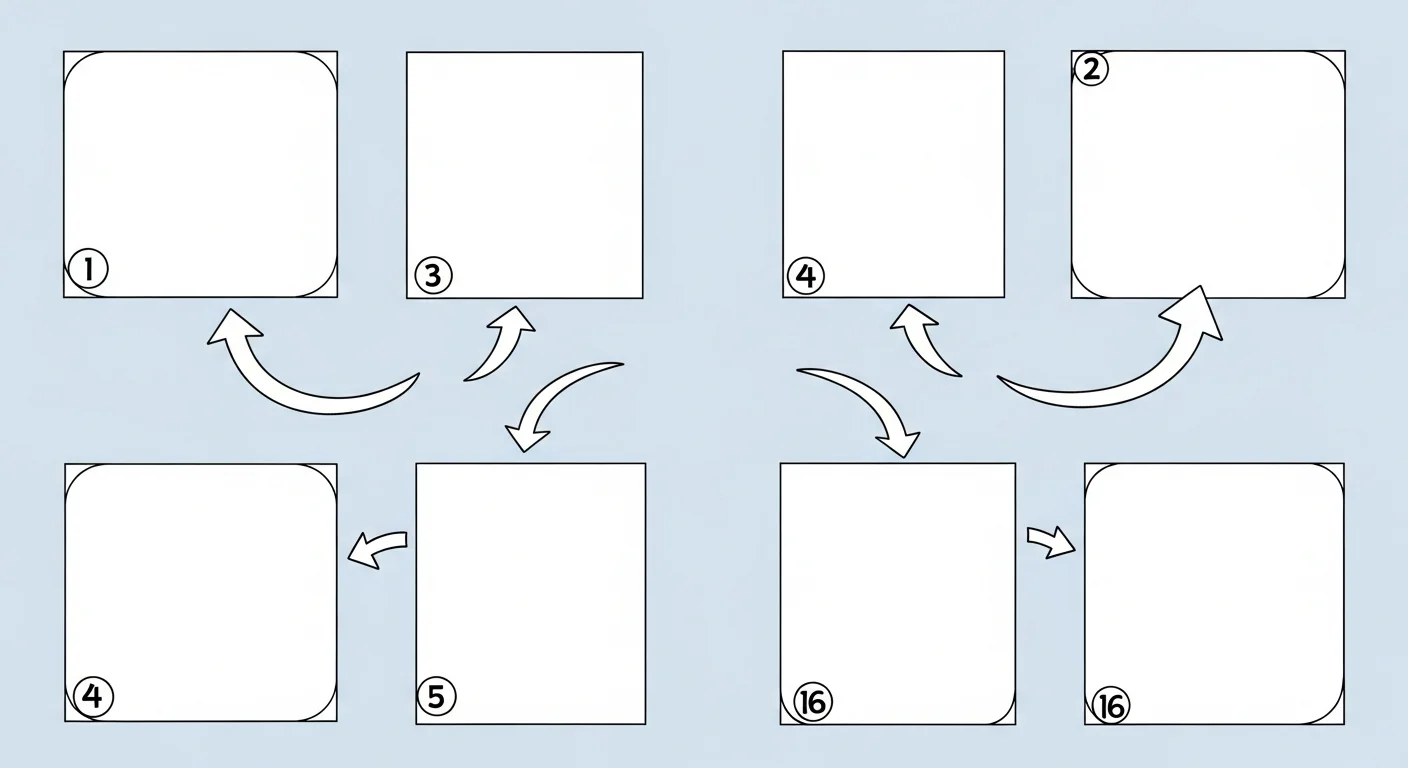
Within a row, panels read right to left. When two panels stack vertically inside a row, the upper one comes first. Diagonal panels override the rule — the eye follows the cut, which lets manga artists pull readers into panels that would otherwise sit second.
Speech bubbles follow the same logic: rightmost bubble first, then leftward. The builder positions bubbles automatically by reading order, but double-check flow before exporting if you nudge them manually.
Comparison: traditional vs AI-assisted paneling
| Aspect | Traditional paneling | AI-assisted paneling | Comistitch advantage |
|---|---|---|---|
| Time per page | 4–8 hours | 1–2 hours | 15–30 minutes with auto-paneling |
| Skill required | Years of layout practice | Basic beat-tagging | None — script drives the grid |
| Iterations | Erase and redraw | Regenerate with edits | One-click regeneration on script change |
| Character consistency | Manual reference sheets | Per-panel prompting | Locked across all panels via consistency engine |
| Cost | Pen, ink, paper, time | $20–50/month for tools | Free tier with signup credits for ~3 pages |
The biggest unlock is iteration speed. Traditional paneling penalizes change — if you decide page 4 needs to slow down, you redraw a chunk of the chapter. AI paneling makes the script the source of truth: change a beat tag from “impact” to “dialogue” and the layout updates. This pushes your effort onto storytelling decisions instead of execution overhead.
What does the Comistitch Studio panel canvas look like?
The panel canvas is a single-page workspace built around the grid. The center holds your manga page, generated at full preview resolution. The left sidebar shows your character library — every character you’ve created, referenced by name in your script. Regenerating the page from an edited script updates the grid, screentones, and sound effects together.
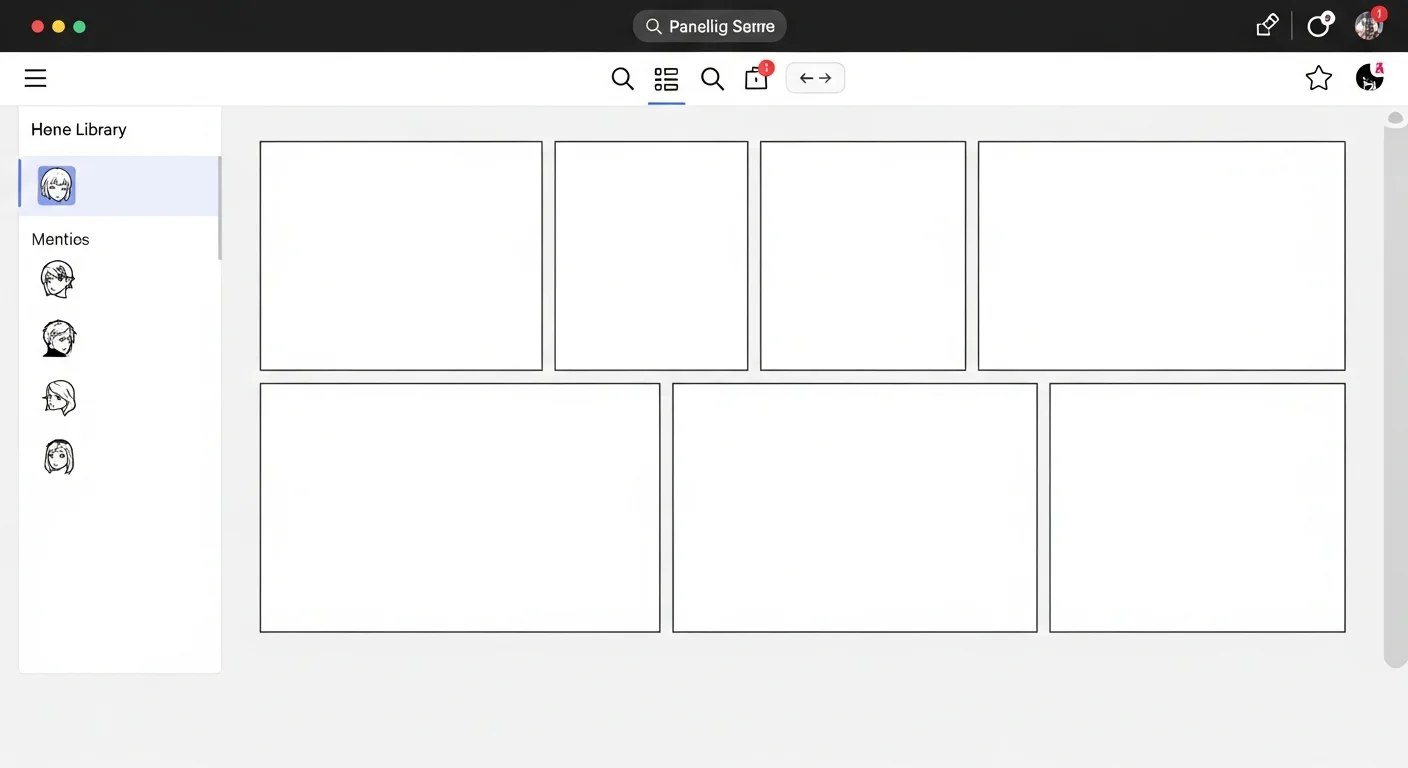
The right panel holds the dialogue editor. Click any panel to open it; type bubble text and the builder positions it away from character faces. From inside the builder, you can also switch between manga and webtoon export formats without leaving the canvas. Describe sound effects like “WHOOSH” or “BAM” in the panel’s beat text and they render in stylized lettering as part of the image.
A bottom rail shows the full chapter as a strip, so you can flip between pages and check pacing across spreads. A chapter that’s all impact panels reads as exhausting; one that’s all dialogue reads as inert. The strip view makes that obvious. Visit Studio to try the canvas yourself.
Before and after: AI paneling in action
The difference is visible at a glance. Before: a blank page with a script attached as a sticky note. After: a structured 6-panel grid with action panels stacked tightly, an impact panel cutting diagonally across the middle, and a final dialogue panel that lands the closing line.
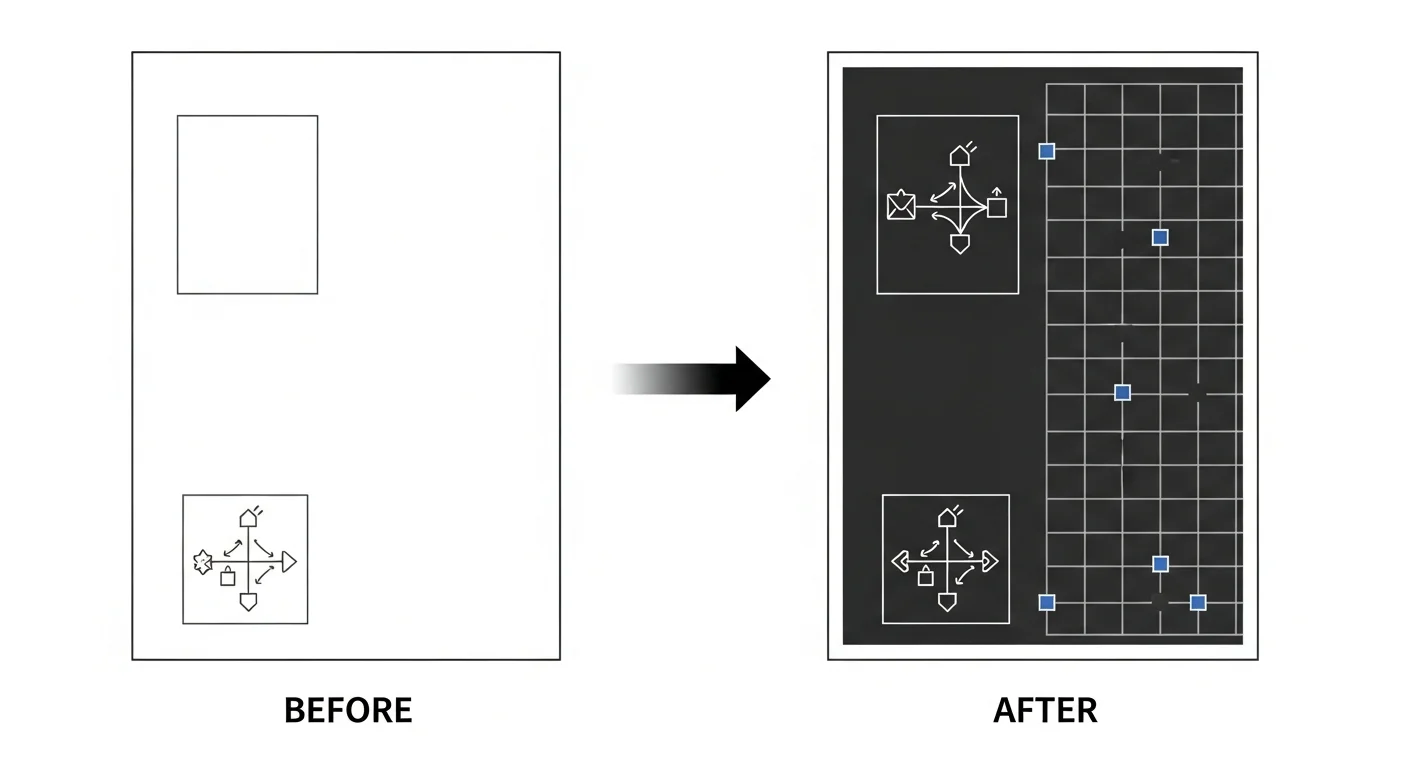
The after-state is what would normally cost three hours of thumbnailing and second-guessing. Auto-paneling collapses that loop — the AI makes layout decisions you’d otherwise agonize over from scratch.
This is what separates modern AI manga tools from older image generators: a general model can render a panel, but it can’t reason about which panel should be diagonal and why. For a deeper comparison, see the best AI manga generators 2026 roundup.
How do I add action panels with vfx and speed lines?
Action panels live or die on motion vocabulary. Manga has developed a rich shorthand for movement — speed lines, focus lines, impact stars, sound effect lettering — and the panel canvas exposes all of these as one-click tools.
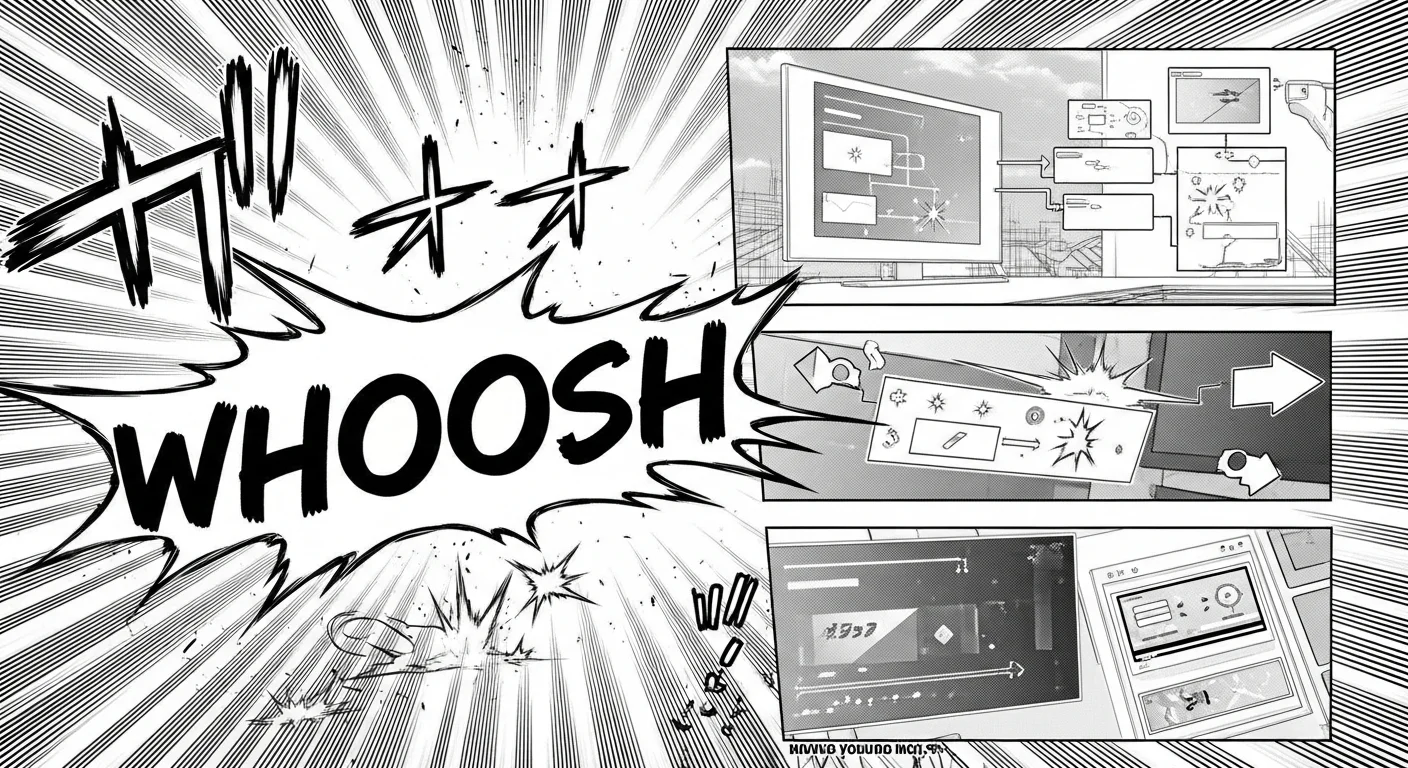
Speed lines radiate from the direction of motion. For a runner moving left, lines streak from right to left. For a punch, lines burst from the impact point. The builder applies them in two clicks.
Focus lines converge on the subject — usually a face mid-reaction. They slow the pace and draw the eye to the emotional core. Use them for reactions after a reveal.
Impact stars mark the frame of contact. Drop one on a panel and surrounding speed lines snap into place automatically.
Sound effect lettering is its own typography. “WHOOSH” stretches and tilts; “BAM” sits heavy. The builder ships a manga-style font set, so typing the word is enough.
Combine speed lines with a diagonal cut and you get the canonical manga action sequence: motion, impact, reaction.
How long does it take to ship a manga page?
Concrete numbers, by workflow:
- Manual paneling, hand-drawn: 4–8 hours per page for a beginner, 2–4 hours for an experienced artist. The bottleneck is not drawing speed but layout iteration.
- AI-assisted with general tools: 1–2 hours per page. You generate panel art with an image model, then manually compose them in a layout app. Character consistency is fragile.
- Comistitch Studio: 20–30 minutes for a beginner’s first page, dropping to 10–15 minutes with practice. The builder handles paneling, character consistency, dialogue placement, and export automatically.
The time saved is not just convenience — it changes what you can ship. A creator who can produce one page per evening can finish a 24-page chapter in three weeks instead of three months. That cadence is the difference between a hobby project and a serial.
Try it now: paste this prompt into Comistitch Studio
Open the panel canvas, click “New Manga Page”, and paste this script into the script box:
Page 1 — Cyberpunk rooftop chase

Beat 1 (action): Hooded figure sprints across a neon-lit rooftop, rain streaking past.
Beat 2 (action): A second figure leaps from a higher rooftop, drone flickering above.
Beat 3 (impact): The hooded figure skids to a stop at the rooftop edge, city lights below.
Beat 4 (dialogue): "You're cornered. Don't make this harder than it has to be."
Beat 5 (reaction): Close-up on the hooded figure's clenched jaw, eyes hidden by shadow.
Beat 6 (impact): The figure jumps off the edge into the neon abyss, cape flaring.
After pasting, the auto-paneling engine takes about 30 seconds. You’ll see a 6-panel grid: two narrow action panels stacked at the top, a diagonal impact panel cutting across the middle, a dialogue panel under it, a tight reaction close-up, and a half-page impact panel at the bottom for the leap. Reference your protagonist by name in each beat, type the dialogue line into panel 4, and hit Export. Total time: under 20 minutes for your first page.
What are common paneling pitfalls?
Three pitfalls trap most beginners.
Pitfall 1: Uniform grids. Every panel the same rectangle reads as flat — no pacing, no emotional weight, no manga feel. Fix: tag at least one beat per page as “impact” so the auto-paneling engine generates a size-varied grid.
Pitfall 2: Reading-order chaos. Diagonal panels and oddly stacked rows can break the right-to-left, top-to-bottom flow. The reader hits dialogue out of order and the scene collapses. Fix: preview the page in reading-order mode before exporting; the builder highlights the eye-path arrow so you can confirm panels read in sequence.
Pitfall 3: Character drift across panels. Without a consistency engine, the same character renders with different hair, eye shape, or outfit on every panel. Fix: set up the character once and lock them. The character consistency guide covers this in depth — it’s the single highest-leverage step in the whole workflow.
A fourth pitfall: cramming too much into one page. Six panels is plenty; eight is the upper limit for action; twelve is a wall of confusion. Split overflow into a two-page spread. Next moves are character work and storyboarding — see manga character design with AI and manga storyboarding step by step.
Where to next? Master the full manga workflow
Paneling is the load-bearing skill, but it sits inside a larger workflow. To go from “I can panel a page” to “chapter ready to publish,” layer in three more pieces: character design, shading and screentones, and a publishing pipeline.
Continue with the manga character design guide to lock down a consistent cast, the manga shading and screentones tutorial to get the textured manga look, and the publish your AI manga from script to page walkthrough to turn finished pages into a serialized webcomic.
Start free at Comistitch Studio — no installs, no credit card.
Related read: Slice-of-life pacing differs from action paneling — see the iyashikei post.