Part 1 locked the concept for Nightshore — a worn PI working the Adler case in rain-locked Mercer City — and the palette to render it. Part 2 turns that palette into a place. A noir city is the second main character, and getting it to stay consistent across an entire book is where most AI noir projects fall apart. This part builds Mercer City so it reads as one coherent location from page one to the end.
The short answer: for noir comic world-building with AI, you design the city like a character — a location bible fixing architecture, palette, signage, and weather — then pre-generate a small set of canonical establishing views and restate the city’s anchors in every scene. The AI renders the rain and neon; your locked location anchors are what keep Mercer City from becoming a different city every panel.
In short
- The city is the second main character — give it a bible like the detective has
- Fix architecture, palette, signage, and default weather as reusable text anchors
- Pre-generate 3–5 canonical establishing views as your visual reference
- Name rain and fog explicitly every scene — “rainy night” is not enough
- Restate the location anchor verbatim so Mercer City never drifts between pages
- Built on the same MoR-safe, AI-original, commercial-rights-included foundation
How Do You Design the Rain City?
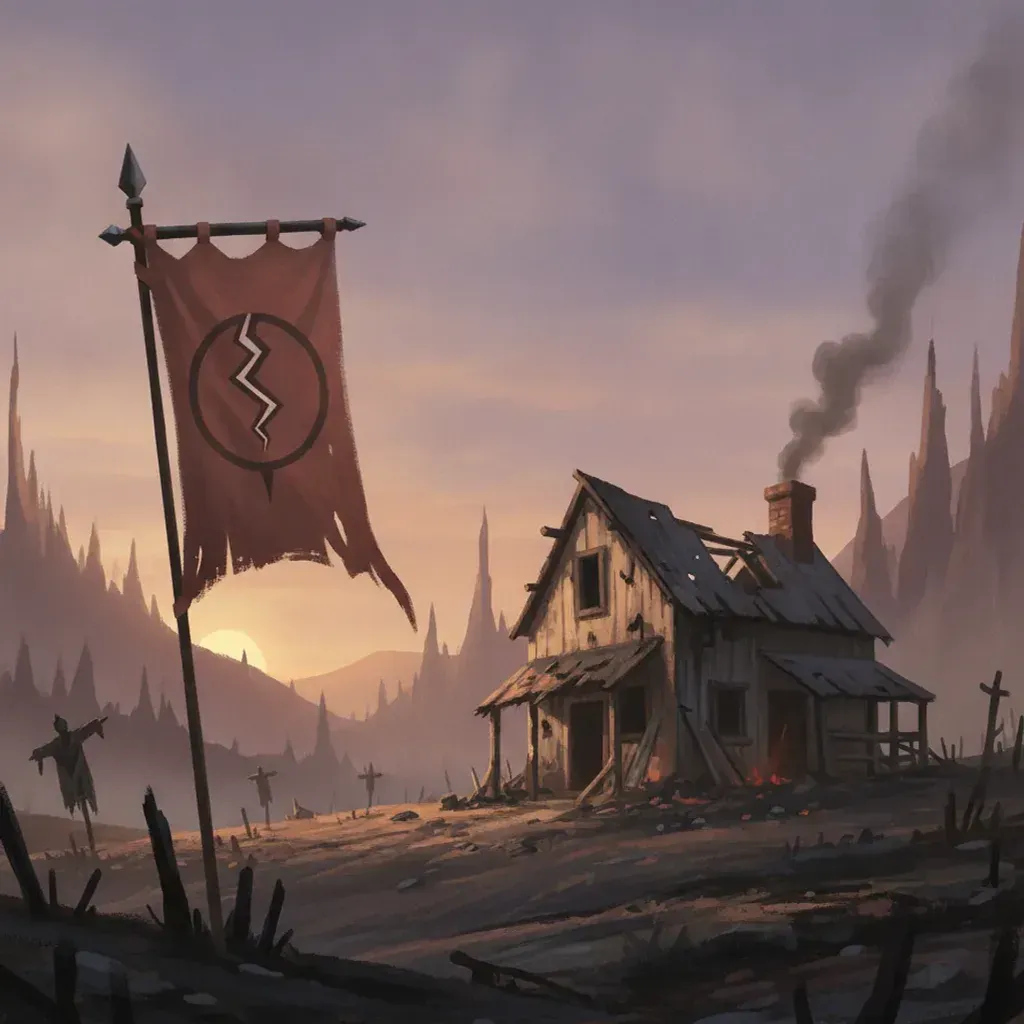
Mercer City inherits its rules from the Part 1 concept paragraph: a rain-locked harbor town, perpetual night, neon over wet stone, fog off the water. World-building turns those four words into a usable location bible:
- Architecture — layered wet-stone buildings, harbor warehouses, narrow alleys, fire escapes, a working waterfront
- Palette — the locked register from Part 1: near-black shadow, wet-stone grey, sodium amber, magenta-cyan neon
- Signage language — neon described as glow and shape, never legible brand text (which keeps it MoR-safe and timeless)
- Default weather and light — steady rain, low fog, one dominant key light per scene
That bible becomes a fixed location anchor — the place equivalent of the character block from Part 1 — pasted into every scene set in the city. The canonical reference for how the noir look behaves under these conditions is the cinematic photoreal noir AI comic guide; the world-building here applies that look to one specific city.
In short: turn the concept’s four city words into a location bible — architecture, palette, signage, weather — and reuse it as a fixed anchor in every city scene.
How Do Neon, Fog, and Wide Perspective Build Atmosphere?
Three tools do most of the atmospheric work in a noir city, and each has to be named explicitly or the model under-delivers.
Neon. The colored light source that defines modern noir. Specify its color and where it falls — “magenta neon from camera right reflecting on wet asphalt.” Reflections on wet surfaces are half the effect; without “wet” in the prompt, the neon floats.
Fog. Atmosphere with physical depth. Name its height and density — “low fog at ankle height,” “thick fog softening the far buildings.” Fog is what gives a flat street its sense of distance and dread.
Wide perspective. Noir cities are oppressive, and wide-angle establishing shots with strong vanishing points make the architecture loom. A deep one-point perspective down an alley does more for mood than any close-up.
Here is a Mercer City establishing prompt the project used, generated from inside the builder with the location and palette anchors prepended:
[Location anchor: Mercer City — rain-locked harbor, layered wet-stone
architecture, near-black shadow, sodium amber, magenta-cyan neon, low fog.]
Scene: deep perspective down a narrow harbor alley at night, steady rain,
magenta neon sign camera right reflecting on wet cobblestones, low fog,
single sodium lamp at the far end, no figures.
Panel: wide establishing shot, strong one-point perspective, no text.
The builder handles the painted fog and reflections; you supply the named neon, the fog height, and the perspective. The deepest atmospheric renders come from the Hyperreal Painted style register, tuned for exactly this wet-surface, volumetric-fog detail.
In short: name neon color and its wet reflection, fog height and density, and use wide perspective to make the city loom. Each tool must be explicit or the render under-delivers.
How Do You Keep Locations Consistent Across the Book?
Consistency across a graphic novel is the hard part, and it comes from three habits carried over from Part 1’s anchor discipline.
Restate the location anchor every scene. The model has no memory of the last page; the anchor is its memory. Every Mercer City scene starts with the same fixed location block.
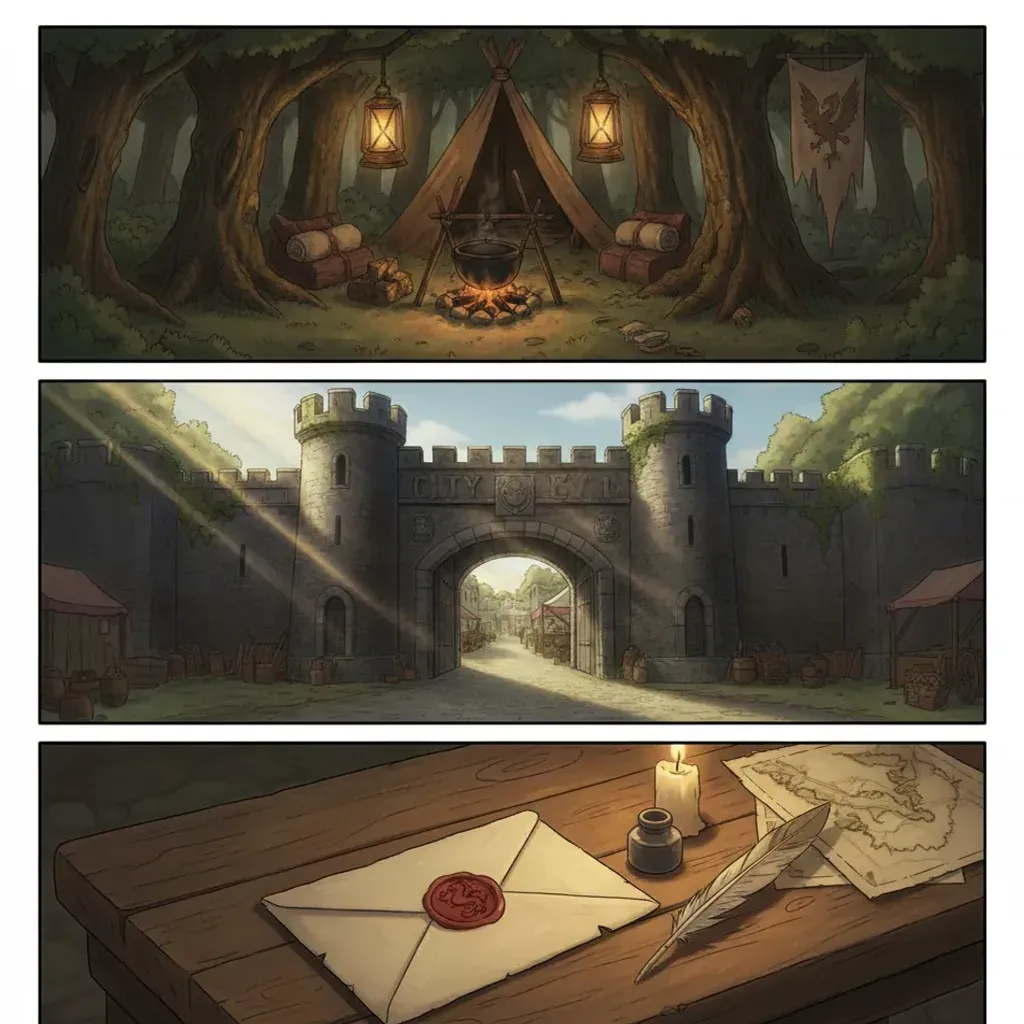
Pre-generate canonical establishing views. Generate the city’s key places once — main street, signature alley, waterfront, one interior — and keep them as visual reference. New scenes reuse and recombine these instead of inventing the city fresh.
Lock atmosphere descriptors. Rain and fog get fixed wording too, so the weather does not lighten or vanish between panels of the same scene.
The same principle that holds a character stable holds a place stable — the full method, read with “location” in place of “character,” is in the character-consistency ultimate guide.
In short: restate the location anchor every scene, pre-generate canonical establishing views, and lock atmosphere wording. The anchor is the model’s memory of the city.
What Is a Location Sheet and Why Does It Matter?
A location sheet is to a place what a character bible is to a person: a single reference that defines its canonical look. For Nightshore, the sheet holds the four core Mercer City views in one grid, all sharing the locked palette.
It matters for two reasons. First, it is your consistency check — laid out together, any view that breaks the palette or architecture is obvious and gets re-rolled before pages are built on it. Second, it is your production library — once the sheet exists, building a new scene is a matter of recombining known locations under known light, not designing from scratch. By Part 4, when pages generate in volume, the location sheet is what keeps a long run feeling like one coherent city.
In short: a location sheet collects the city’s canonical views in one grid — both a consistency check and a reusable production library that keeps the book coherent.
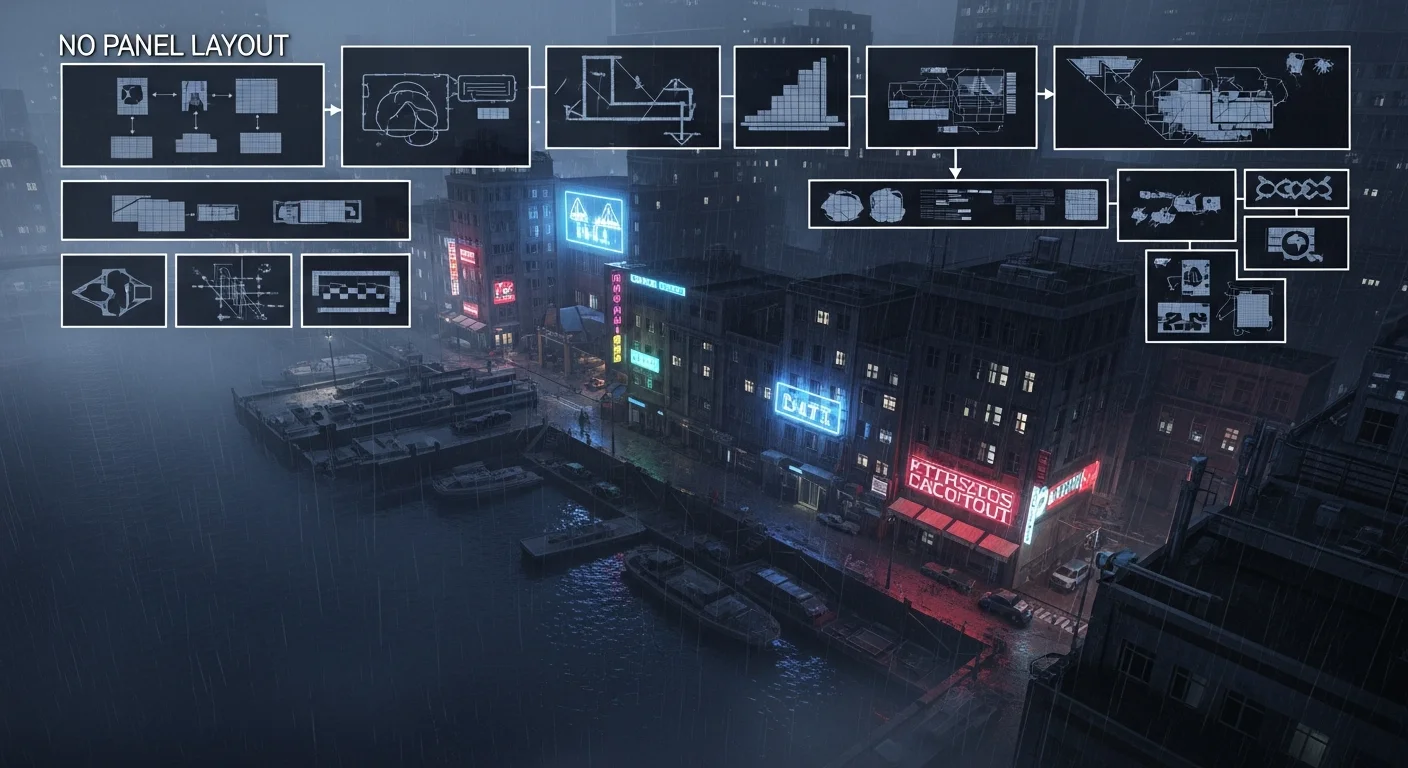
Page Format vs Vertical Scroll: Does It Change Mercer City?
The city’s bible stays identical regardless of format, but the framing of establishing shots changes. Decide format now so your establishing views are composed for the right aspect ratio.
| Page format | Vertical scroll | |
|---|---|---|
| Establishing framing | Wide spread, horizontal | Tall descent, vertical reveal |
| Best establishing move | Full-width city spread | Scroll down from skyline to street |
| Reading pace | Contemplative, page turn | Episodic, swipe |
| Location sheet aspect | 16:9 / spread | 9:16 columns |
| Best for Nightshore | Prestige print book | Episodic web serial |
Nightshore is built page-format for a contemplative noir read, so its establishing views are composed wide. If you were serializing it as a web series, you would reframe the same locations as tall descents. The vertical-scroll framing craft is covered in the webtoon vertical-scroll paneling guide for projects that go that route.
In short: the location bible is format-agnostic; only establishing-shot framing changes. Nightshore is page-format, so its city views are composed wide.
How Do You Light Mercer City’s Streets?
Lighting is where a noir city earns its atmosphere, and exteriors and interiors need different recipes — both built on the single-key discipline from Part 1.
Exteriors run on layered practical sources. A Mercer City street at night usually carries three: a sodium streetlamp as the warm key, neon signage as a colored accent, and the cool ambient bounce of a wet sky as fill. The recipe is always “one dominant warm key, one colored accent, faint cool fill” — and crucially, every source reflects on the wet ground, which doubles the light’s presence. Drop the reflections and the street goes flat.
Interiors in noir are darker and more selective. A warehouse or office gets a single hard source — a bare bulb, a window’s spill, a desk lamp — and lets everything else fall into deep shadow. The drama comes from how little is lit, not how much. A figure half-swallowed by darkness with one cheek catching a desk lamp is the genre’s signature interior shot.
A Mercer City interior lighting prompt, with the anchors prepended:
[Location anchor: Mercer City harbor warehouse interior, near-black shadow,
wet-stone grey, low fog, wet floor.]
Scene: a single bare bulb hangs over a desk at the far end, hard pool of
sodium-yellow light below it, everything else falling into near-black,
faint cool spill from a high window, no figures.
Panel: wide interior establishing shot, deep shadow, no text.
The builder handles the painted falloff and the wet reflections; you name the source, its color, and what stays dark. The key habit: decide each location’s default light recipe once and reuse it, so the warehouse always lights the same way scene to scene. That default becomes part of the location anchor itself. The lighting physics behind these recipes — single key, chiaroscuro falloff, rim separation — are the same ones the cinematic photoreal noir AI comic guide details for the genre.
In short: exteriors layer a warm key, a colored accent, and cool fill — all reflected on wet ground; interiors use one hard source and deep shadow. Fix each location’s default recipe and reuse it.
What Environment Pitfalls Should You Avoid?
Three world-building mistakes break noir cities:
The reset-city pitfall. Not restating the location anchor lets the model rebuild the city differently each page. Fix: paste the anchor every scene.
The dry-noir pitfall. Forgetting “wet” and “fog” descriptors produces a clean, flat city that reads as generic night, not noir. Fix: name atmosphere explicitly every time.
The legible-signage pitfall. Real brand text on signage dates the work and risks trademark issues. Fix: describe neon as glow and shape only — abstract, timeless, MoR-safe.
Clear these and Mercer City stays one place across the whole book. With the world locked, the next part writes the actual story into it.
In short: restate the anchor, always render wet and foggy, and keep signage abstract. Reset-city, dry-noir, and legible-signage are the three environment killers.
Frequently Asked Questions
How do I keep AI backgrounds consistent across pages? Treat locations like characters: a location anchor restated every scene, plus pre-generated canonical establishing views as reference.
What makes a noir city feel real? Specificity and repetition — the same harbor, rain, neon, and architecture recurring verbatim page after page.
How do I render rain and fog convincingly? Name intensity, direction, height, and where light catches moisture, every scene. “Rainy night” alone is not enough.
Page format or vertical scroll? Either — the bible is the same; only establishing framing changes. Decide early so views are composed for the right aspect ratio.
How many establishing shots does the city need? A canonical set of three to five — main street, alley, waterfront, interior — reused and recombined for new scenes.
Can AI keep a fictional city consistent across a book? Yes, with a locked location bible and pre-generated views. Vague prompts cause drift, not the AI.
Next: Script and Paneling
Mercer City is built and locked. Part 3 writes the Adler case into it — turning the world into a noir script and paneling it for tension and reveal. Continue to Part 3 — Script and Paneling for Tension, or revisit Part 1 — Concept and Character Bible. Open Comistitch Studio → to build your own city.